Post by Pooka on Apr 22, 2006 11:47:19 GMT -5
Greetings all,
Well as promised here is the photo progression of my water dragon cage from start to finish. Apologies for the format, it was either a web page or a forum post and a forum post seemed like the easier and faster alternative. I hope you enjoy and of course I'll update this thread once Pooka and Skittle are all settled in.
This project has taken me since the start of the year working the odd night or two a week on it. Most of the cost was covered from my tax return. When I started I had every intention of doing a cost breakdown for you all but along the way I've lost many receipts and am no longer motivated to figure the cost, sorry. My best guess is, minus tools I had to buy and minus the cost of having to buy my glass door tract bulk, about $250 or so. That guess covers the cost of the Melamine (3 sheets at about $30 a sheet), it also covers the cost of 2 track units (1 for the top and bottom and 1 for the side), and the cost of screws, sealant, venting, and the electrical and plumbing. Anyhow, here is what you came to see.... pictures!
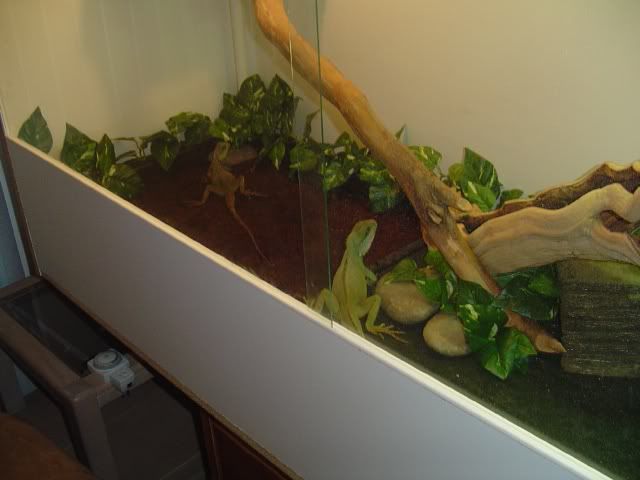
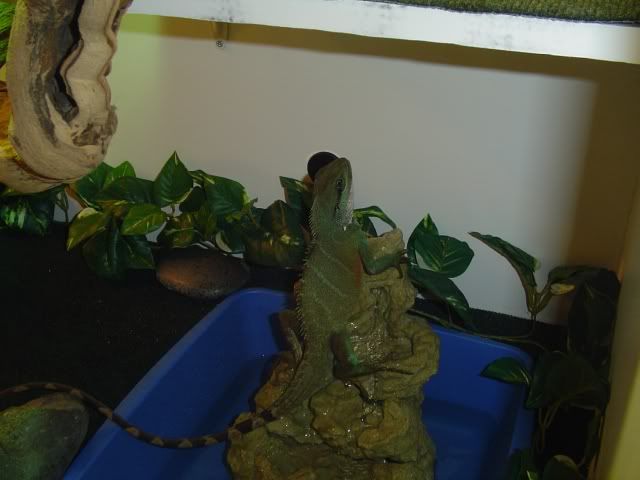
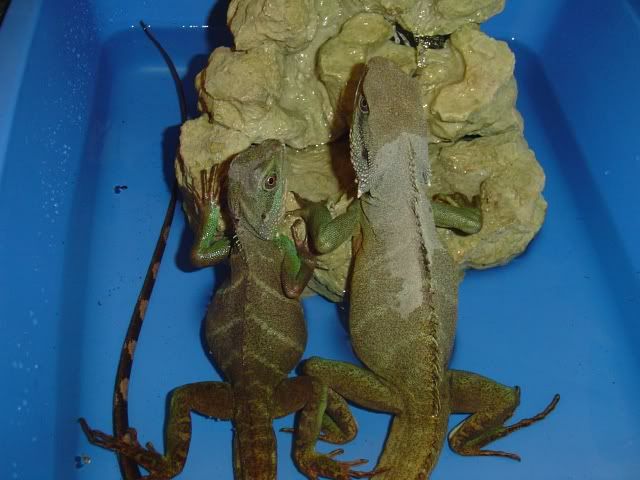
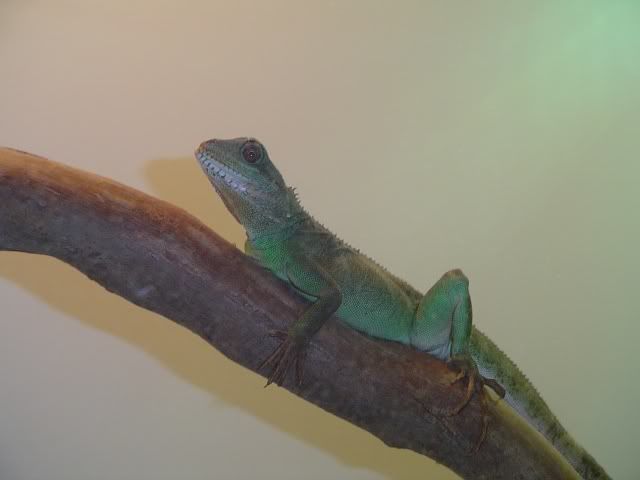
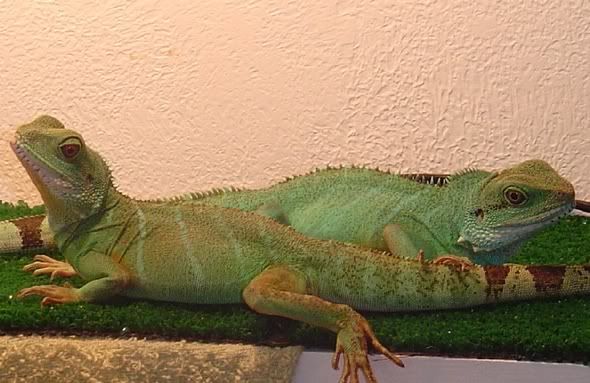
My lovely 'green' children, Pooka and Skittle...
The early plan mock up for the cage. I decided to go with 6 foot long, by 4 foot tall, by 2 foot wide due to materials cost and concerns of Skittle having a sore back and enjoying dragon dive bombing...

Here is the 'bones' of the cage laid out before assembly, wow melamine is heavy!

Here is the general shape of the cage after assembly. I used 3/4 inch melamine for the construction and 1.5 inch long wood screws to pin it together. Remember always drill a pilot hole when screwing thin wood like plywood and melamine together or else it will split.
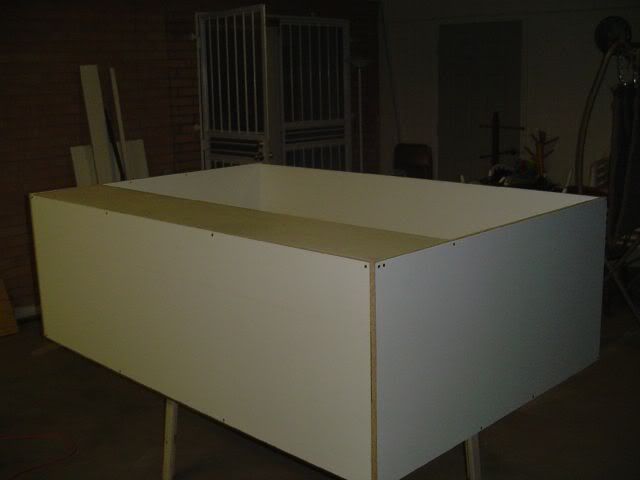
This is a shot of the frame stood up. At this point in the process I used a 1/2 inch drill bit and jig saw to cut out the hole in the back for the air vent. The air vent will hopefully help me fine tune heat and humidity settings while allowing some fresh air in. I *may* have to punch some holes in the sides later on if this vent is not sufficient to allow enough fresh air, guess we shall see....
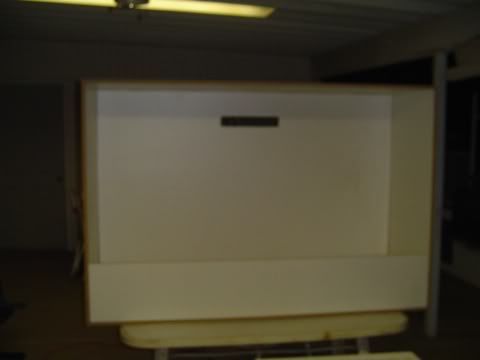
Here is a shot showing the hole in the sub floor of the cage for the humidifier plumbing. This shot also shows one of the 4x6 boards used to support the false floor...

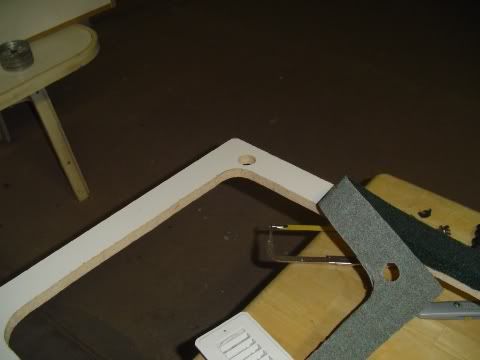
This is the false floor that will float a few inches off the actual bottom of the cage allowing the dig box and pool to be set level with the floor. You can see the hole punched in the false floor where the humidifier pluming will come up out of the floor...
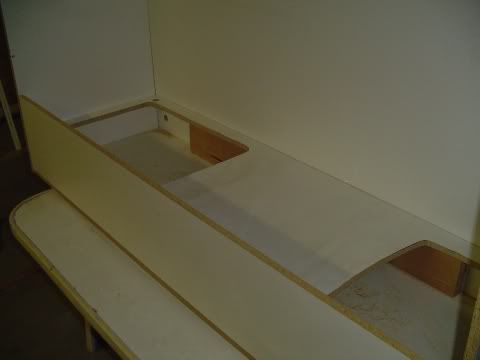
Here is what the false floor looks like installed...
Couple things to note in this photo. Here we see the L shaped PVC assembly in the floor for the humidifier. We also see the vent register installed as well as the electrical boxes that the porcelain light sockets will mount to installed along with wiring pushed through the ceiling...

Another shot of the false floor, this was taken just after sealing all the exposed edges with silicone...

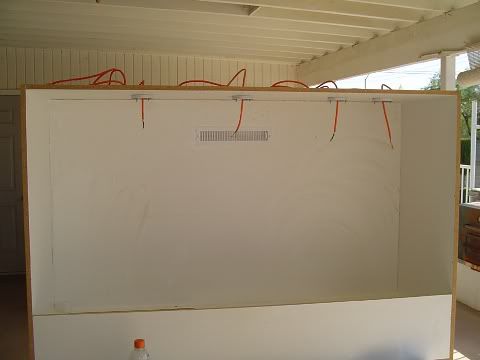
Another shot, show casing the electrical. The electrical was done with some cheap extension cords cut in half. I fed 1 end into the cage via a hole in the roof and into the electrical box, the other end got a shiny new plug added to it...
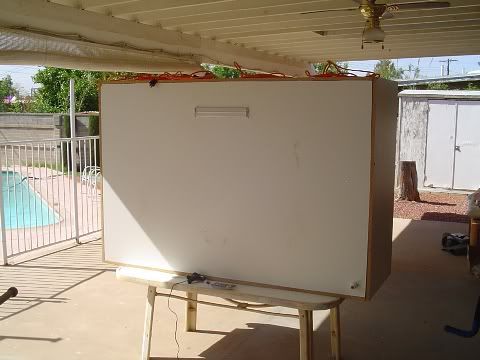
Here is a hot of the back, this shows the back of the vent (see its adjustable) and it also shows the threaded pipe fitting on the end of the PVC pipe that I hook my humidifier to...
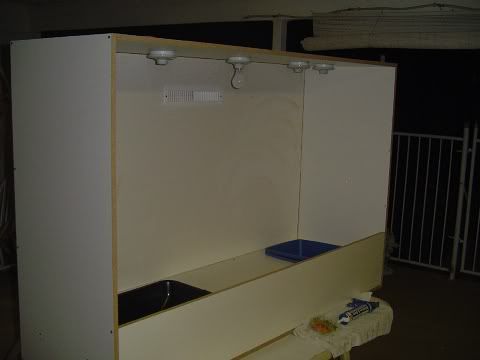
Here is the enclosure with most of the frame and components done. This shot is taken after the porcelain light sockets have been added and also shows the containers for substrate and water in place...
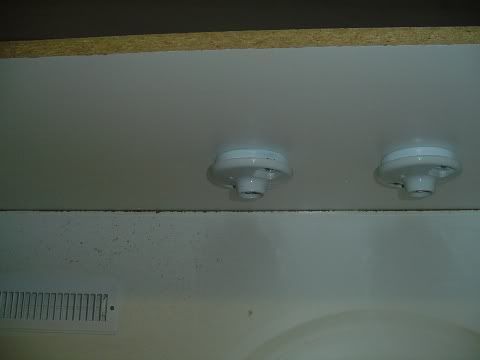
A closer shot of the light sockets...
Here is a shot of the finished electrical from the back. All the lights feed into a master surge bar. This surge bar will be on a timer for the day/night cycles. Before next winter I plan on upgrading the surge bar to a reptile power center style one so I can have separate timers and constant 'on' plus for my night time heat source which is a rheostat controlled Reptileuv.com mega heat emitter.

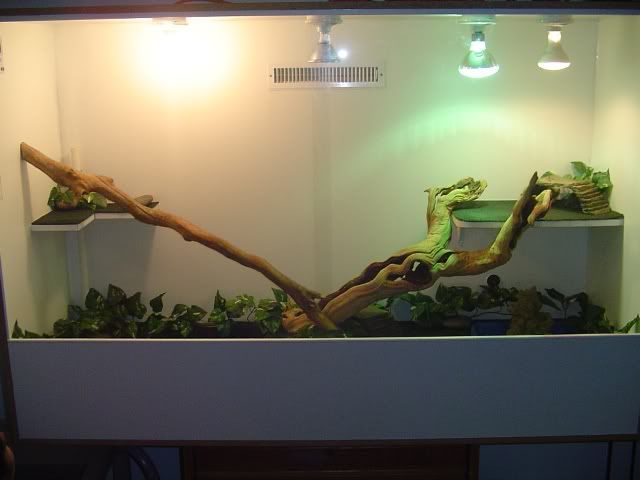
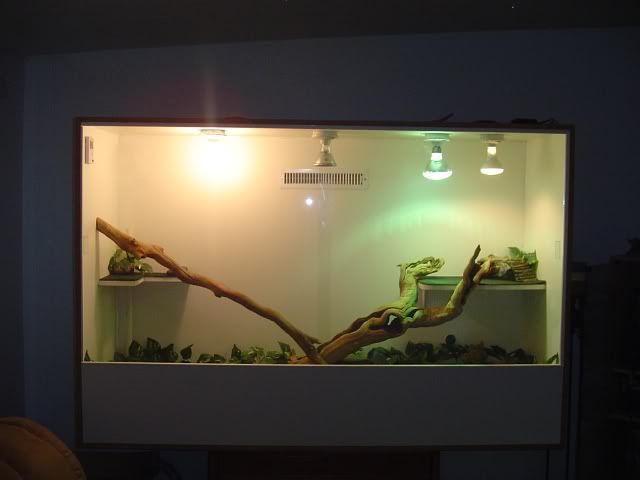
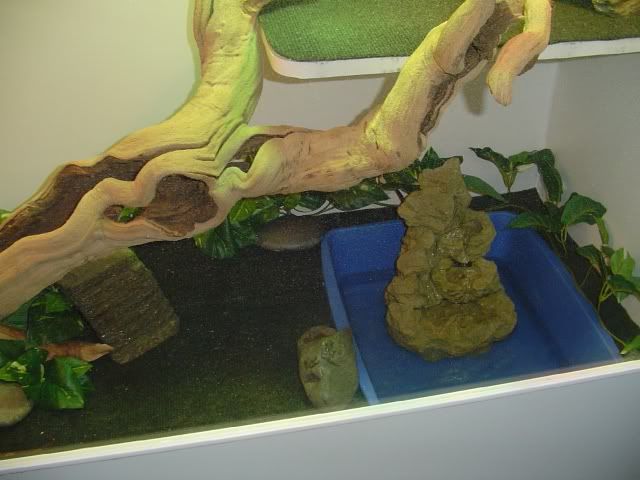
Here is the shot of the finished product after the 2 basking shelves and climbing branches have been installed. The branches are anchored in place with screws as are the basking shelves. The shelves are also sealed with silicone to help fight off moisture. Finally, the shelves have velcro glued to them for the carpet so they can be cleaned when necessary. All the floor surfaces in the cage have outdoor carpeting since its my preference for ease of cleaning and impaction risk...
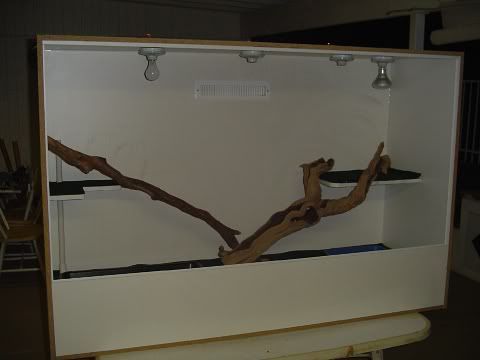
That's it folks! The cage was started February 13th and was finished April 21nd with a nice long break in the middle. All in all I think total hours invested in this were about 48 if you count shopping. I hope you enjoyed this short picture tutorial and I'll be sure to show you the final product with glass installed and Pooka and Skittle inside when I get there. For now it's time to air out and get it moved into the house. Comments and questions are always welcome.
Well as promised here is the photo progression of my water dragon cage from start to finish. Apologies for the format, it was either a web page or a forum post and a forum post seemed like the easier and faster alternative. I hope you enjoy and of course I'll update this thread once Pooka and Skittle are all settled in.

This project has taken me since the start of the year working the odd night or two a week on it. Most of the cost was covered from my tax return. When I started I had every intention of doing a cost breakdown for you all but along the way I've lost many receipts and am no longer motivated to figure the cost, sorry. My best guess is, minus tools I had to buy and minus the cost of having to buy my glass door tract bulk, about $250 or so. That guess covers the cost of the Melamine (3 sheets at about $30 a sheet), it also covers the cost of 2 track units (1 for the top and bottom and 1 for the side), and the cost of screws, sealant, venting, and the electrical and plumbing. Anyhow, here is what you came to see.... pictures!
My lovely 'green' children, Pooka and Skittle...

The early plan mock up for the cage. I decided to go with 6 foot long, by 4 foot tall, by 2 foot wide due to materials cost and concerns of Skittle having a sore back and enjoying dragon dive bombing...

Here is the 'bones' of the cage laid out before assembly, wow melamine is heavy!

Here is the general shape of the cage after assembly. I used 3/4 inch melamine for the construction and 1.5 inch long wood screws to pin it together. Remember always drill a pilot hole when screwing thin wood like plywood and melamine together or else it will split.

This is a shot of the frame stood up. At this point in the process I used a 1/2 inch drill bit and jig saw to cut out the hole in the back for the air vent. The air vent will hopefully help me fine tune heat and humidity settings while allowing some fresh air in. I *may* have to punch some holes in the sides later on if this vent is not sufficient to allow enough fresh air, guess we shall see....

Here is a shot showing the hole in the sub floor of the cage for the humidifier plumbing. This shot also shows one of the 4x6 boards used to support the false floor...

This is the false floor that will float a few inches off the actual bottom of the cage allowing the dig box and pool to be set level with the floor. You can see the hole punched in the false floor where the humidifier pluming will come up out of the floor...

Here is what the false floor looks like installed...

Couple things to note in this photo. Here we see the L shaped PVC assembly in the floor for the humidifier. We also see the vent register installed as well as the electrical boxes that the porcelain light sockets will mount to installed along with wiring pushed through the ceiling...

Another shot of the false floor, this was taken just after sealing all the exposed edges with silicone...

Another shot, show casing the electrical. The electrical was done with some cheap extension cords cut in half. I fed 1 end into the cage via a hole in the roof and into the electrical box, the other end got a shiny new plug added to it...

Here is a hot of the back, this shows the back of the vent (see its adjustable) and it also shows the threaded pipe fitting on the end of the PVC pipe that I hook my humidifier to...

Here is the enclosure with most of the frame and components done. This shot is taken after the porcelain light sockets have been added and also shows the containers for substrate and water in place...

A closer shot of the light sockets...

Here is a shot of the finished electrical from the back. All the lights feed into a master surge bar. This surge bar will be on a timer for the day/night cycles. Before next winter I plan on upgrading the surge bar to a reptile power center style one so I can have separate timers and constant 'on' plus for my night time heat source which is a rheostat controlled Reptileuv.com mega heat emitter.

Here is the shot of the finished product after the 2 basking shelves and climbing branches have been installed. The branches are anchored in place with screws as are the basking shelves. The shelves are also sealed with silicone to help fight off moisture. Finally, the shelves have velcro glued to them for the carpet so they can be cleaned when necessary. All the floor surfaces in the cage have outdoor carpeting since its my preference for ease of cleaning and impaction risk...

That's it folks! The cage was started February 13th and was finished April 21nd with a nice long break in the middle. All in all I think total hours invested in this were about 48 if you count shopping. I hope you enjoyed this short picture tutorial and I'll be sure to show you the final product with glass installed and Pooka and Skittle inside when I get there. For now it's time to air out and get it moved into the house. Comments and questions are always welcome.


